Introduction
Commercial VPN providers often track and then sell your internet activity to advertisers, marketers, and data brokers. Some VPN providers say they do not keep logs or spy on you, (Mullvad), but there is no way to know if that is true (unless you can somehow audit them yourself). Creating your own VPN server that you have complete control of is cheaper and gives you more privacy than paying for a VPN service from a company.
How to create your own VPN server
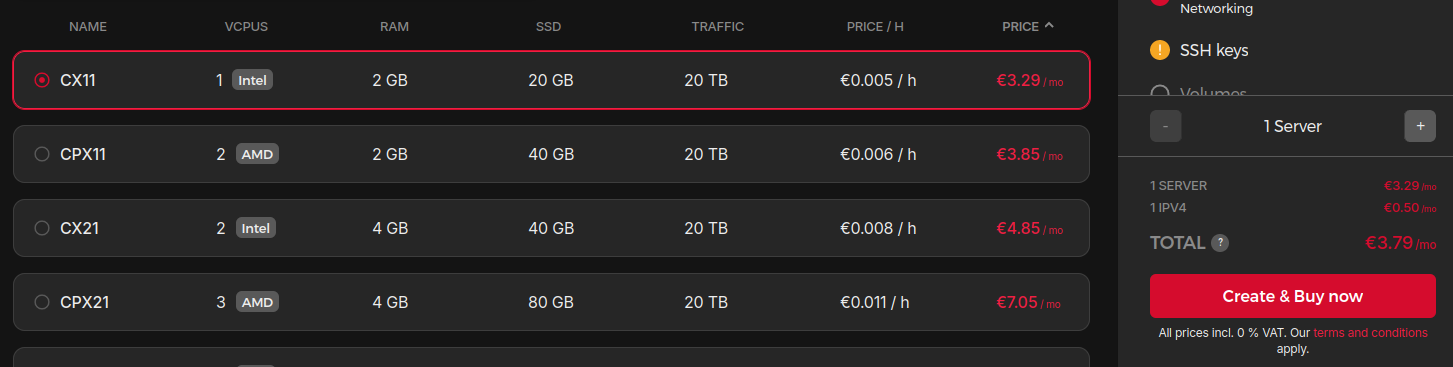
Setup a VPS server running Debian 12 from whatever company you like. I will use Hetzner. You don’t need a lot of specs on the server. I will be using 1 VCPU and 2 GB of RAM with 20 TB monthly bandwidth limit. It costs 3.29 euros a month which is ~$3.50. Those specs are enough and the price is fair.
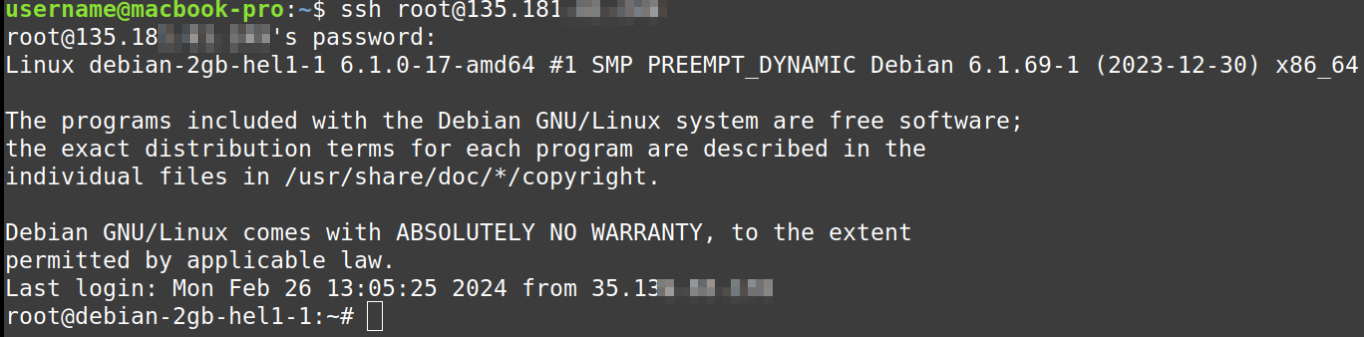
ssh into your server
ssh root@yourserver
Update the server
sudo apt update && sudo apt upgrade -y
Add your user to the server
useradd -m your-username
Set a password for your user
passwd your-username
Create the wheel group
groupadd wheel
Add your user to the wheel group
usermod -G wheel your-username
Add your user to the sudoers file
nano /etc/sudoers
Add this line at the end of the file
%wheel ALL=(ALL) ALL

Write and save the file
Switch to your user
su your-username
bash
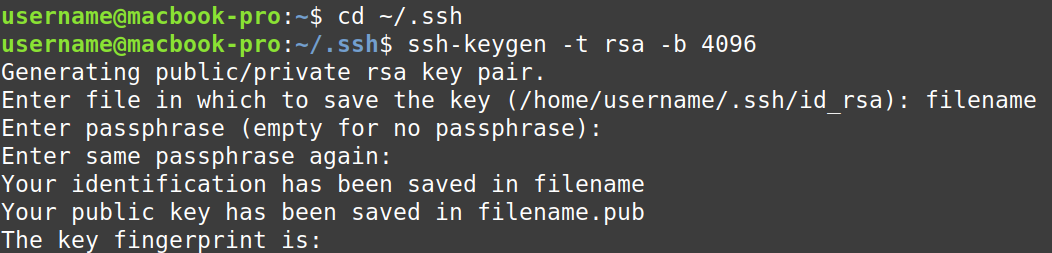
Open another terminal window on your local host machine. Go to the ~/.ssh directory and generate a new key pair. If you do not have an ~/.ssh directory, create one.
ssh-keygen -t rsa -b 4096
Give the file a name and a password.
Copy the newly created public key to the your-username home directory on the remote server. The public key is the one that ends with ‘.pub’
Note: Don’t forget to add the ‘:’ at the end of your ip address
scp filename-you-chose.pub your-username@your-server-ipAddress:

Go back to the terminal where you are logged into your server
Navigate to your home
Create the ~/.ssh directory on the remote server your-username’s home directory
cd ~/
mkdir ~/.ssh
Create a file called authorized_keys and then put the filename-you-chose.pub key contents into that file
touch ~/.ssh/authorized_keys
cat ~/filename-you-chose.pub » ~/.ssh/authorized_keys
Delete the filename-you-chose.pub file
rm ~/filename-you-chose.pub
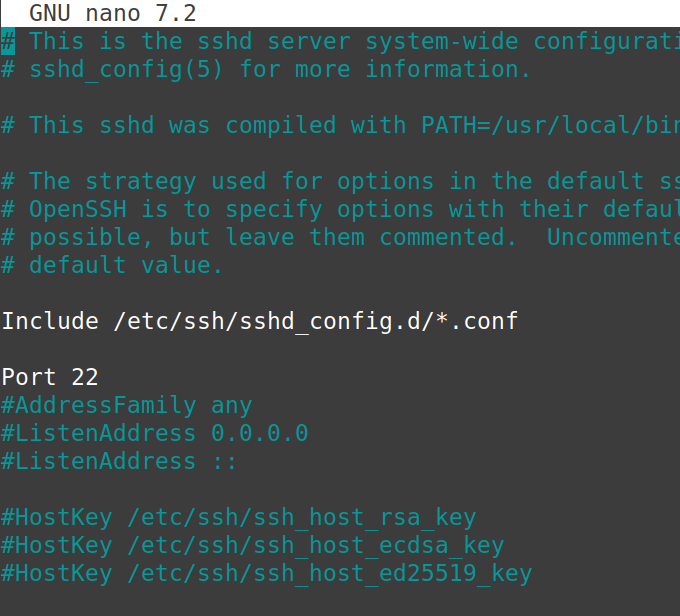
Edit the ssh daemon config file
sudo nano /etc/ssh/sshd_config
uncomment the line that says ‘Port 22’
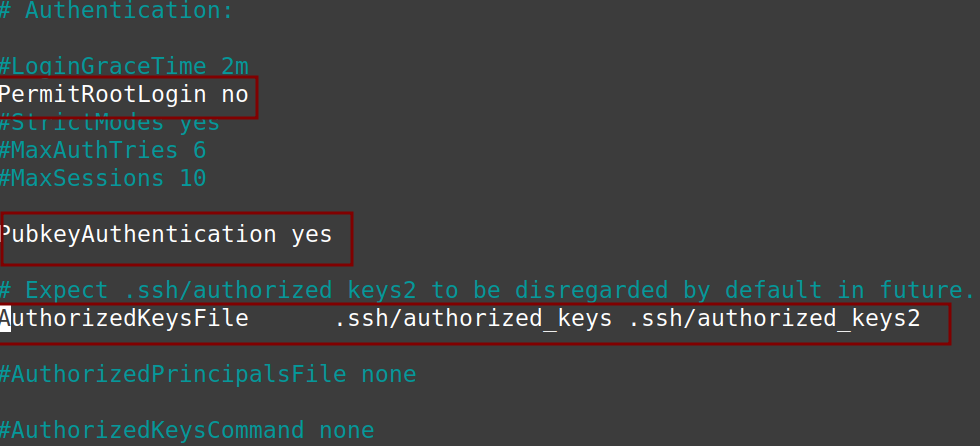
Locate the line ‘PermitRootLogin yes’ and uncomment the line, change it to say ’no’
Uncomment the line that says ‘PubkeyAuthentication’
Uncomment the line that says the ‘AuthorizedKeysFile
Find the line that says ‘PasswordAuthentication’ and change it to say ’no’
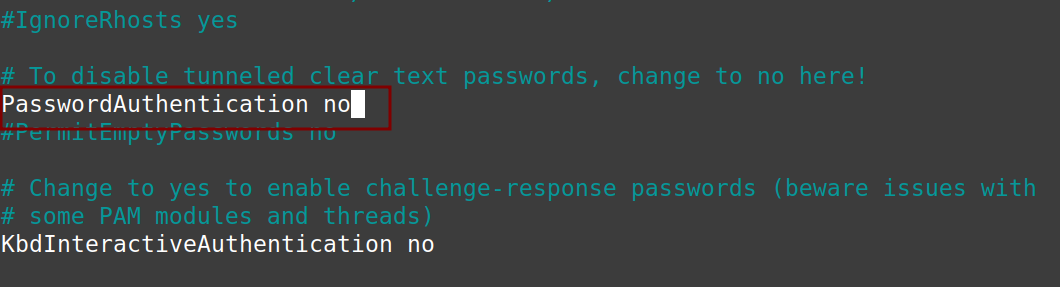
Write and save the config
Restart the ssh daemon
sudo systemctl restart sshd
End the ssh connection
exit
exit
ctl+D
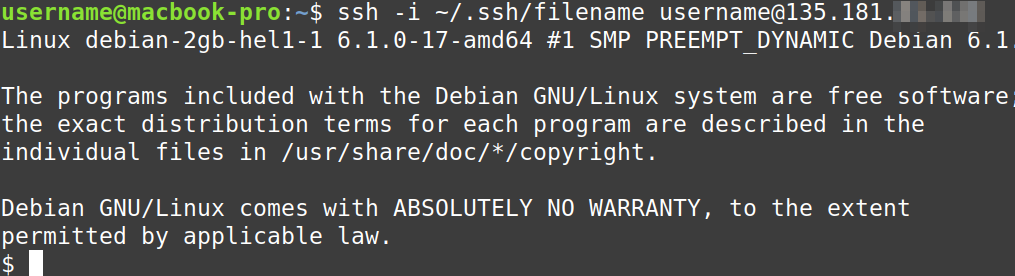
Connect back to the server using the key file, make sure you aren’t using the public key
ssh -i ~/.ssh/filename-you-chose your-username@server-ip-address
Install openvpn
bash
sudo apt install openvpn
I will be use a config script from a person called ‘angristan’ github.
Navigate to:
https://raw.githubusercontent.com/angristan/openvpn-install/master/openvpn-install.sh in a web browser.
Read through the script to make sure nothing weird is in there
Copy the url to your clipboard
In the terminal on your VPN server curl the file
curl -LJO https://raw.githubusercontent.com/angristan/openvpn-install/master/openvpn-install.sh

Make the script executable and run it as root
sudo chmod +x
sudo ./install.sh
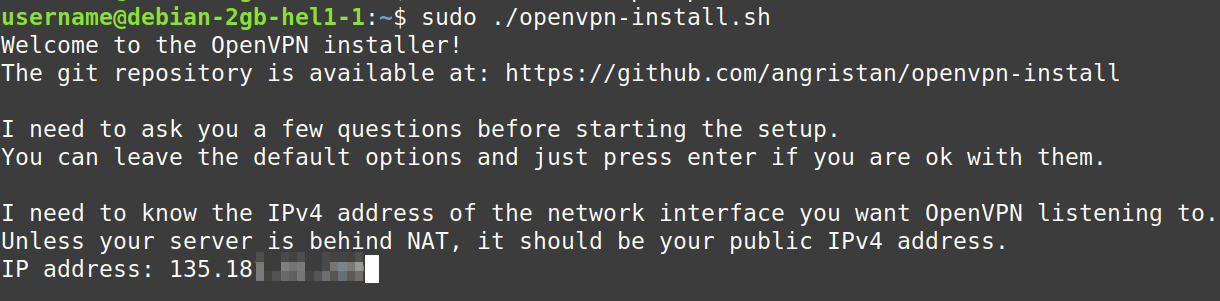
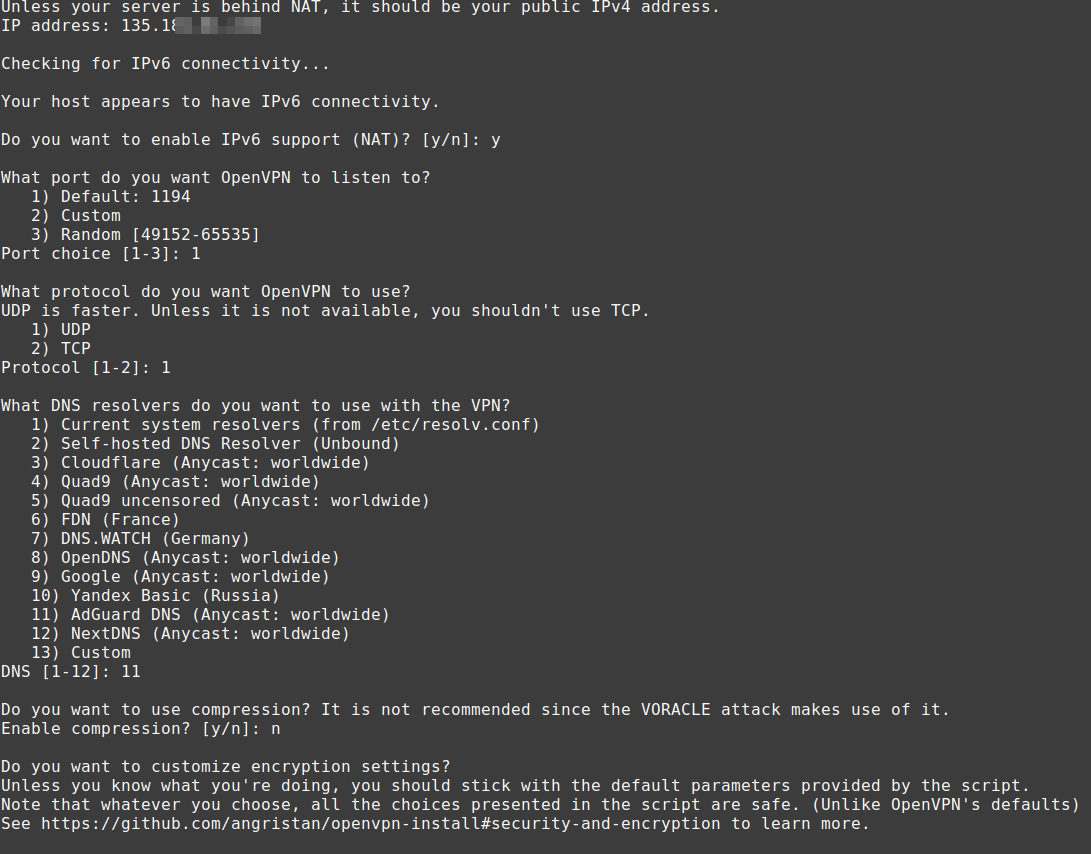
I will just accept the default settings and press enter through the next options presented.

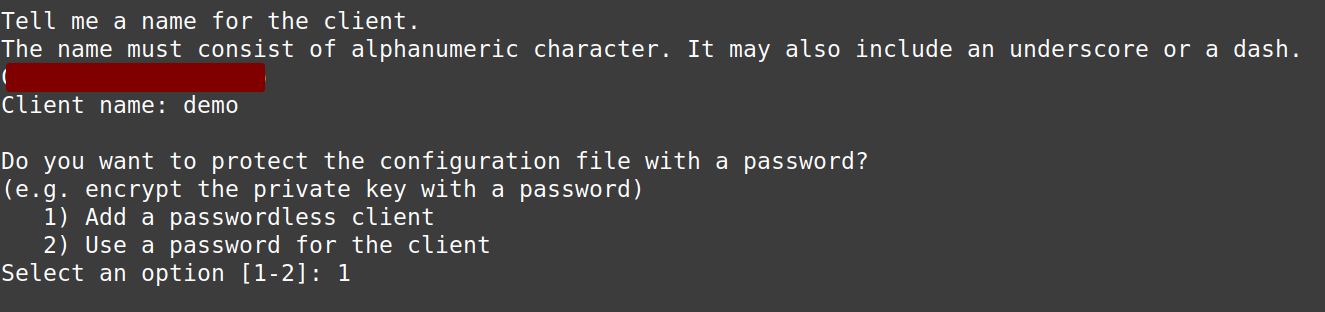
Type in a name for the client
Choose whether you want a password protected file, I will just accept the default and press enter
Open the openvpn server conf file in your editor
sudo nano /etc/openvpn/server.conf
Navigate to the end of the file and edit the last line where it says ‘verb 3’. Change it to say ‘verb 0’. Write out and save the file. This disables the log

Restart openvpn
sudo systemctl restart openvpn
Open another terminal window on your desktop or host computer
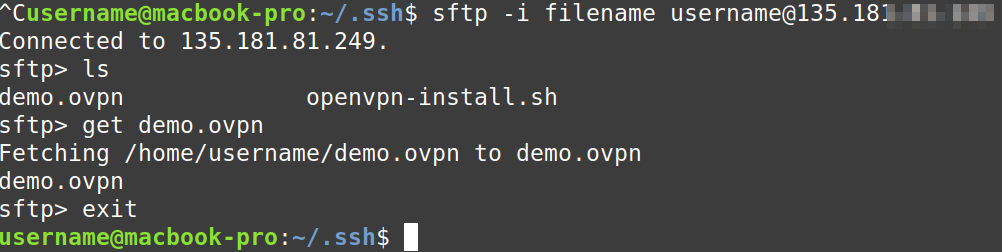
Transfer the key file from the server to your local computer
sftp -i .ssh/filename-you-chose your-username@your-server-ipAddress
get clientName-you-chose-File.opvn
exit
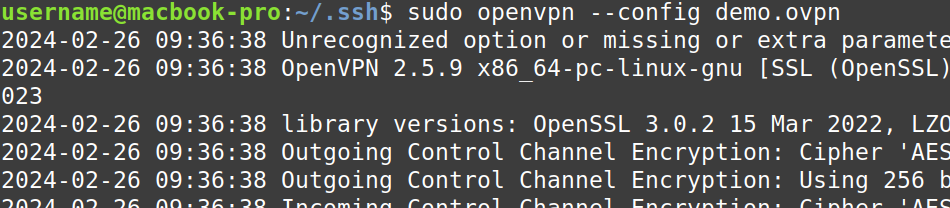
Now you can connect to the VPN using the config file
sudo openvpn –config clientName-you-chose-File.opvn
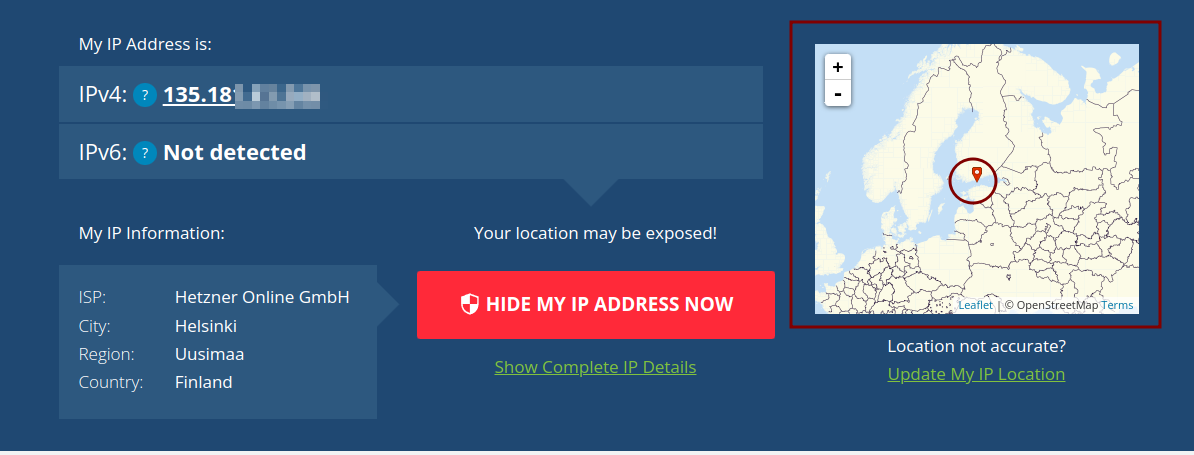
You are now connected to your VPN server. Open a browser and go to https://whatismyipaddress.com/ to confirm